Pages

Showing posts with label Envelope Punch Board. Show all posts

24 October 2017

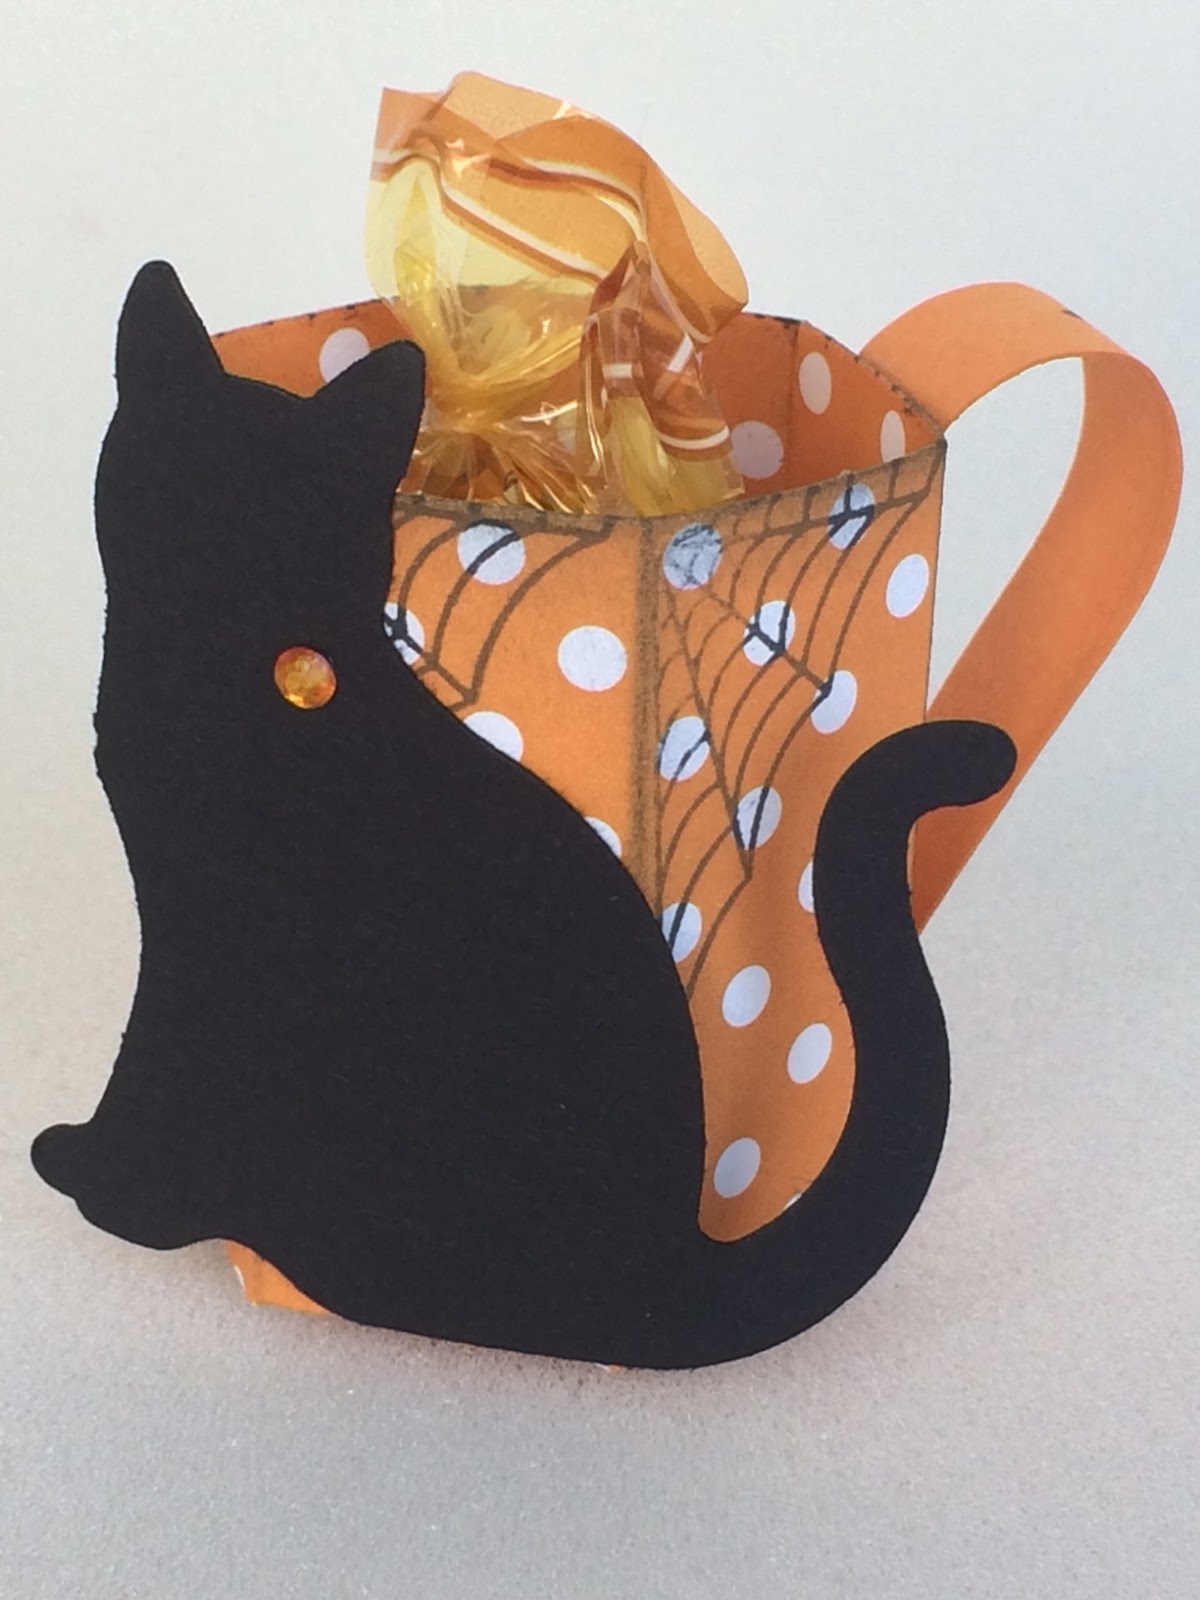
Halloween cat treat in a mug

Everyone who attended my classes in October received one of these super cute halloween treat mugs.  There are a number of tutorials on youtube for making mugs using the envelope punch board. I took inspiration form Julie Dematteo's coffee mug treat holder tutorial. I just made mine a tad taller than Julie's.

I am very much a cat person so when I saw the cat punch in the autumn/winter catalogue I was over the moon. I love this punch! The spider's web is from the Sweet Home stamp set, as is the bat that I stamped on the handle. I lightly sponged the edges of the mug with black ink and coloured the rhinestone with an alcohol marker to complete the project.

I don't think I have ever shared a photo of my cat.  She's a pretty long haired tortie,  take a peek at her further down this post...

treats in a cat mug

I remembered to take a photo after making the second batch. I just needed to buy some more treats.

treats in cat mugs

treats in cat mugs

Here's my kitty...  Thanks for stopping by x


Product List
Cat Punch
[144666]
£16.00
Bone Folder
[102300]
£6.25

28 May 2014

Cool Kid

Here's a fun, cheery card using the Cool Kid stamp set, you will find it on page 29 of the spring/summer catalogue. It's one of the cards we made in class last Wednesday.

The base card is Night of Navy and measures 5" x 5".
The squares measure...
Whisper White: 1 3/4" x 1 3/4"
Rich Razzleberry: 2" x 2"
Whisper White: 4 3/16" x 4 3/16"

The corners were finished off with some paper piercing - just about shows up in the photos. The bow ties were fussy cut, a little fiddly but easy enough to cut. I emphasised the eyes with my chalk marker, just a light touch needed. Finally, the envelope was made using the envelope punch board - quick and easy :)

Thanks for visiting x
Cool Kid
Cool Kid
Cool Kid
Cool Kid

Supplies used:
Click on the image or description for further information about the products...

26 May 2014

Fine Feathers gift card holder

Hello crafters, I'm back. Happy Bank Holiday Monday.  I love long weekends.  Who doesn't?

My Fine Feathers stamp set has had an airing. The card has a pocket inside to hold a gift card and tag to write your greetings. All stamped with black StazOn on Very Vanilla card.
Fine Feathers gift card holder
The back is made with a 6" x 6" piece of Modern Medley DSP.  Mark at 3" on all four sides and score from 3" mark to adjacent 3" mark so that when you fold the triangles in the points meet in the middle. When folded it measures 4 1/4".  The front of the card is a 4 1/4' x 4 1/4" piece of Very Vanilla card. As you can see, one triangle/flap is adhered to the card front.  The other 3 triangles fold in and are held in place with tiny 5mm magnets. You can see both magnets a photo further down - also instructions for the pocket :) ...
Angled Tag
Fine Feathers gift card holder
Gift card holder
For the pocket, cut a 4" square in half diagonally (you will get two pockets from a 4" square). Score on the two short sides at 3/8".  Snip the ends diagonally and fold under as you see in the photo below. Put adhesive on the flaps and adhere to one corner as above, not too close to the folds.
Pocket
I will take photos and write up instructions for the box envelope later in the week.
Thank you for visiting x

Supplies used:
Click on the image or description for further information about the products...