Pages

31 July 2014

Bordering Blooms cute easel card with a drawer

Hello crafters.  Today I have this cute Daffodil Delight and Pacific Point mini easel card with a drawer to show you. It's my take on the ones made by Papercraft Button.  Check out her video tutorial on youtube here.

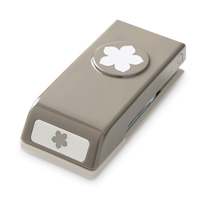
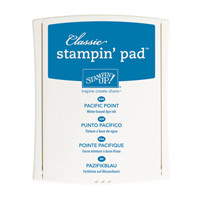
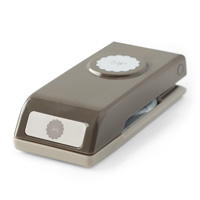
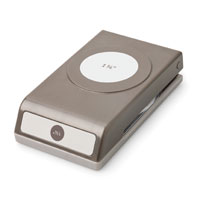
The border stamp is from the Bordering Blooms photopolymer stamp set.  Have you tried Stampin' Up!'s new photopolymer stamps yet?  They're fabulous. The flowers, from Petite Petals stamp set, are stamped in Pacific Point on Whisper White card. They were punched out with the coordinating punch and shaped with my bone folder. A bow in Daffodil Delight seam binding ribbon finishes off the card nicely.

Thank you for visiting x
Bordering Blooms and Petite Petals easel card


Supplies used:
Click on the image or description for further information about the products...

29 July 2014

Baby, We've Grown

Hello crafters.  I'm back with some more projects to share with you over the next few days :)

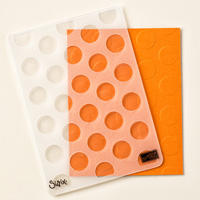
First a new baby card we made in class earlier this month.  I love that large polka dot embossing folder.  We embossed white vellum card and overlayed it over Pool Party card which was cut slight wider than the vellum to give that little border. 

The stamp set is Baby, We've Grown.  We used Memento ink pad to stamp the images as the colouring in was done with Stampin' Up!'s Blendabilities.  Fabulous alcohol ink markers. Oh, and the little heart is from Something to Say stamp set.  There is a cute punch pack that coordinates with the set.

As you can see this is a tent style card with a cool base so it stands nicely.  Here's how it's done:

Cut an A4 card to 5 1/4" x 11 3/4".  On the long side score at 4 1/2", 9", 10 1/8" and 11 1/4".  You should have a 1/2" tab left at the end.

With the right side facing fold all the score lines making the 10 1/8" score line a valley fold and the remaining three mountain folds. Adhere the 1/2" tab to the back of the card to make the base.  I adhered it to the inside of the card rather than the outside, looks neater :)

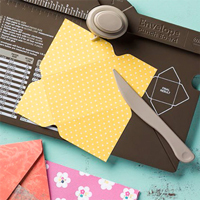
There is plenty of room to write your greeting at the back of the card.  The envelope was of course made using the envelope punch board. We used measurements for the A-2 on the board.   Hope you like it and thank you for visiting x


Supplies used:
Click on the image or description for further information about the products...

12 July 2014

Chalk Talk and World Map

Happy weekend crafters.  Today I have three cards to show you.  They were made by two lovely friends, Karen and Ben who attend one of my classes.  Thank you both for sharing your creations...

Karen used the Chalk Talk stamp set and coordinating die on this gorgeous card. She used Stampin' Up!'s white craft ink to stamp the background - beautifully stamped 'by eye' I might add.  Karen's not a big fan of using the stamp-a-ma-jig  :)
Chalk Talk

Ben used the World Map stamp to create the background on these two impressive cards. The greeting is from the Chalk Talk stamp set. I believe Ben used chalks to colour both and he's mastered the technique fabulously well.  Love them all.
World Map and Chalk Talk

10 July 2014

In This Together

Hello crafters.  Today I want to show you the result of my first play with my new Blendabilities, in this case the Pumpkin Pie set.  It's only a little bit of colouring in I know but I LOVE IT.  I couldn't resist a touch of Zentangle to bring it all together.  Hope you like it.

I used my Finishing Touches edgelits dies to cut the pretty borders.  The ribbon is Stitched Satin in Tangelo Twist, one of the new In Colors. Actually the Stitched Satin is new too :)  

Thank you for visiting.  
In This Together
In This Together

6 July 2014

Blendabilities unleashed

Blendabilities unleashed
The wait is over for Stampin’ Blendabilities Markers! A limited release of colours are now available to order, click over to the flyer on the right to see available colours. The full range shown in the catalogue will be released in August.

These exclusive, alcohol-based marker sets come in a 3-pack of light, medium and dark shades (of the same colour). And don't forget your Momento Ink Pad (132708, page 212) as you will need to use a water-based ink pad to stamp your lined image.

Because traditional alcohol markers require a bit of training, Stampin' Up! developed a few videos to ensure that Blendabilities are easy-to-use for everyone!
Visit www.youtube.com/user/stampinupvideo to view them.

1 July 2014

IT'S HERE - 2014-2015 Annual Catalogue

WHOO HOO! The 2014-2015 Annual Catalogue is here! If you haven't got your copy yet you can view the pdf online - just click on the image...

It sure was hard to choose my favourite new products.  You should see my wish list!!!  If you too have a real long wish list, why not consider buying the kit for just £99? That way you get to choose £130 worth of products.  Plus you will receive £45 of business supplies to get you started.  All shipped right to your door P&P free.  

There is absolutely no obligation to remain a demonstrator if you don't wish to.  Pop on over to 'Join my Team' page (tab at the top) to find out more.  Or feel free to contact me.  I would be delighted to have a chat and answer your questions.